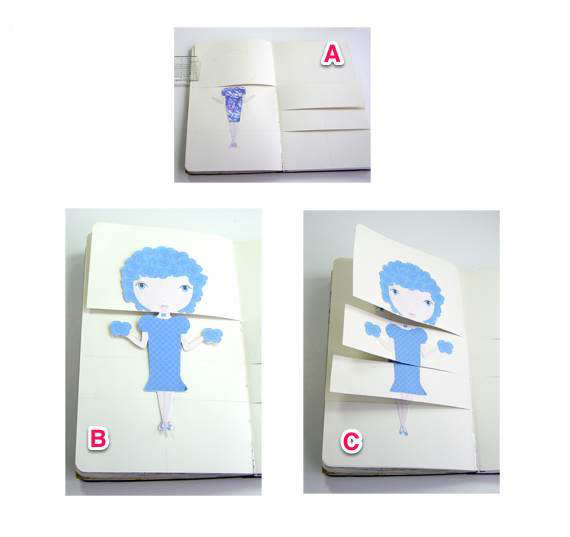
This is a really fun Art Journaling project! Adaptable to all sorts of objects, but especially to Paper Dolls! The Heart and Soul Paper Dolls digital embellishment set was the base of my entire 6 page flip!
Digital scrapbooking products used:
Heart and Soul Paper Dolls Embellishment Mini
Fascination Kit
A Narrative Kit
Heart and Soul Kit
Supplies used:
watercolor pencils
Pitt Pens
adhesive
card stock
Let’s begin!
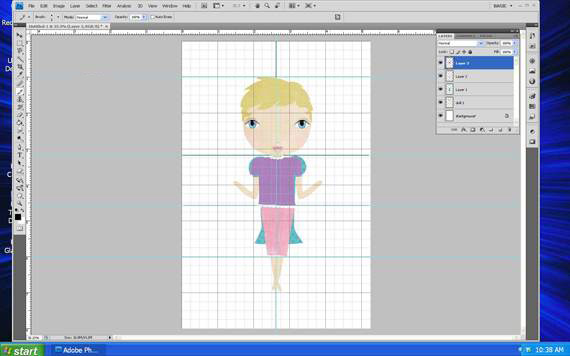
Step 1 – Open a new document in your photo editing software (I use CS4) the size of your journal page.
A. Bring out a guide line to mark the center…Create a new layer & name it Doll 1. Select a doll from the Heart and. Soul Paper Doll set and bring it into your document and center it.
B. I want both sides to have a bent arm…. I used the magnetic selection tool to outline the arm I don’t want.
C. then I deleted it. Next I opened the bent arm file in the collection and flipped it horizontally and moved it on to my working file. Then lined it up to the sleeve.
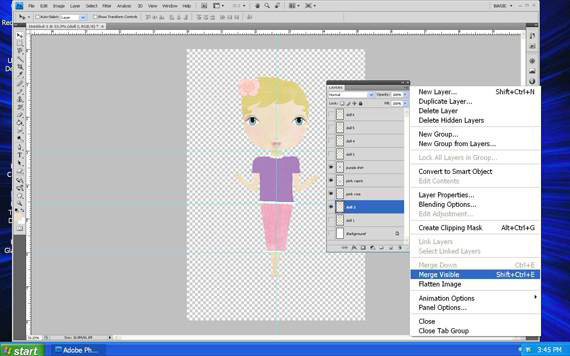
D. YAY! You have just made the base for ALL of your dolls! Now, make sure your background layer is turned off, highlight the Doll 1 layer and merge all visible. Duplicate this layer 5 more times, naming each in numerical sequence. Turn the background layer back on and then highlight the Doll1 layer. We are now going to try different pieces of clothing on to decide on the page divisions. The bottom of the chin will be the 1st division, the 2nd division will be where the bottom of the shirt is and the 3rd division is where the bottom of the dress is. Pull down guide lines to mark the divisions.
Step 2 – Highlight the background layer and with your pencil tool , black color selected, draw straight lines about 3-5 pixels in width, over the the guide lines.
Step 3 – Now let’s dress each of our dolls!….Highlight the Doll #1 layer, making sure it is the only one turned on! Try on different clothes until you find an outfit that is pleasing to you, making sure the background layer is off and the Doll #1 layer highlighted. Merge all visible layers. Your first doll is now finished! Repeat for the next five dolls.
Step 4 – You can print them out now if you want to. I printed my dolls on white card stock. If you have a Silhouette Cameo cutting machine, save each doll as a 600 dpi jpeg file. Then within the Silhouette software program, open a doll file and create a print and cut file. See Print and Cut Digital Elements with the Silhouette tutorial for directions on how to use the print and cut feature.
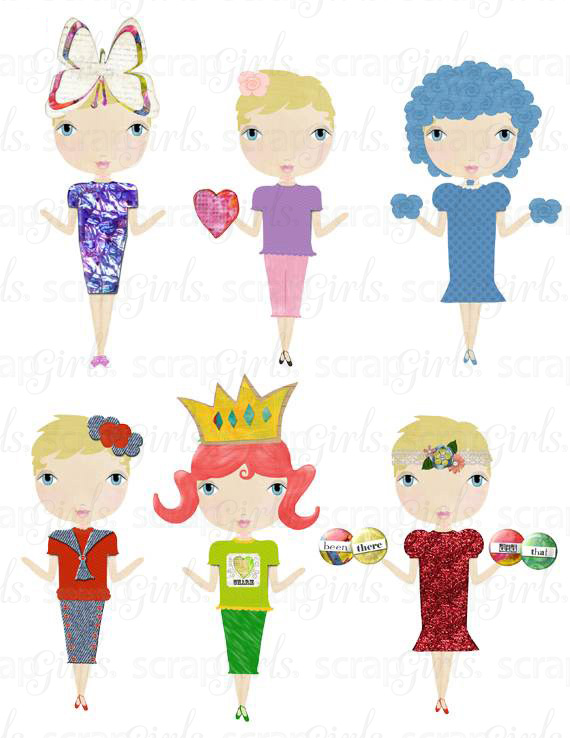
Step 5- The Silhouette cutting machine will accurately cut the edges of the doll that you specify, saving time and your fingers! If you don’t have a Silhouette, these doll figures are simple enough for scissor cutting. Here is a page including all my 6 completed dolls.
Step 6 – In your journal, make sure you will have 3 spreads/6 pages free for your dolls. Starting on the left side of the first spread, draw a very light pencil line down the center and draw a line where each division is.
Repeat on the next 5 pages. Choose one of your cut out dolls and glue it down on the first page, centering it on the center line.
Step 7 –
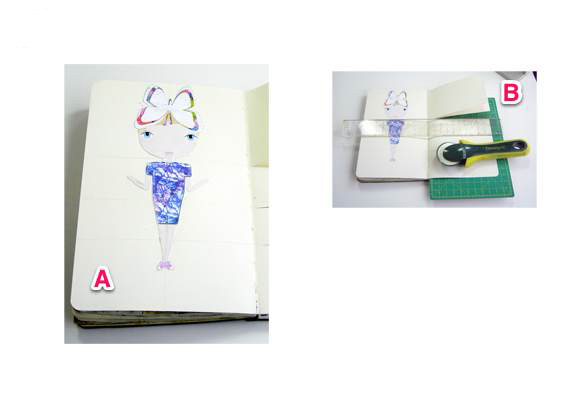
A. I then placed a small cutting Matt under the next two pages and lined up a ruler with the top division line, cutting through the two pages. Repeat for the rest of the two division lines.
B. If you don’t have a rotary cutter, just cut on the division lines you previously drew on each page, making sure they all line up. I found it MUCH easier to line up Doll 3 to Doll 1 because Doll 3 was on top and not next to Doll 1. So, flip the top division of the right hand page and line the next cut out doll up with the doll underneath; I made small pencil marks around the head for placement.
Step 8 –
A. Glue in place, then cut at the division.
B. Repeat for the rest of the divisions.
C. Repeat for the next doll. The 4th doll will be treated like the 1st doll, placed & centered whole on the last page. Then you can reverse the placement sequence. When all 6 dolls are in place, you can start playing around with adding embellishments and drawing & painting backgrounds.
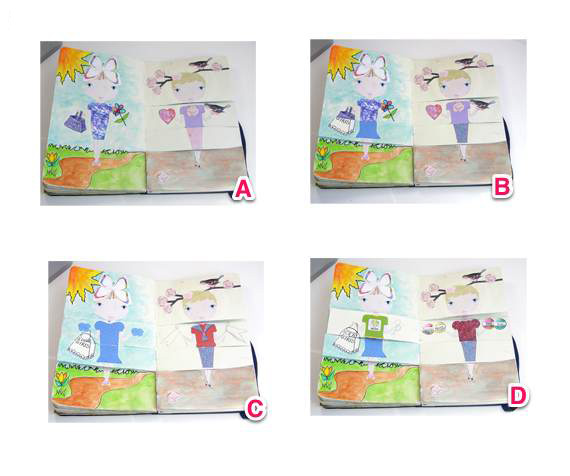
A WORD TO THE WISE….ALL the backgrounds on the right side should be the SAME and all the backgrounds on the left side should be the SAME! I chose just to have one color for all of my background pages to bypass any boo boos. But that didn’t prevent me for making a boo boo right off on Doll#1’s center divisions.
A. Looks well and good, I thought the space needed something to fill it up on the left side of the 1st doll, so without even thinking about it, I drew in and painted in a purse, worked on doll #2, then flipped a division over to start on doll #3. HORROR OF HORRORS! I discovered that when drawing the purse, I drew through both center divisions! No way could I cover it up. I had the option of starting all over again (NOT!!) or drawing connecting purse parts on all the right hand pages. Actually, this turned out kinda fun because I could alter the bottom portions of the purses to look a little different. If this happens to you, just make sure the (purse) lines line up where the page division is. All is well, but it was a heck of a lot more work!
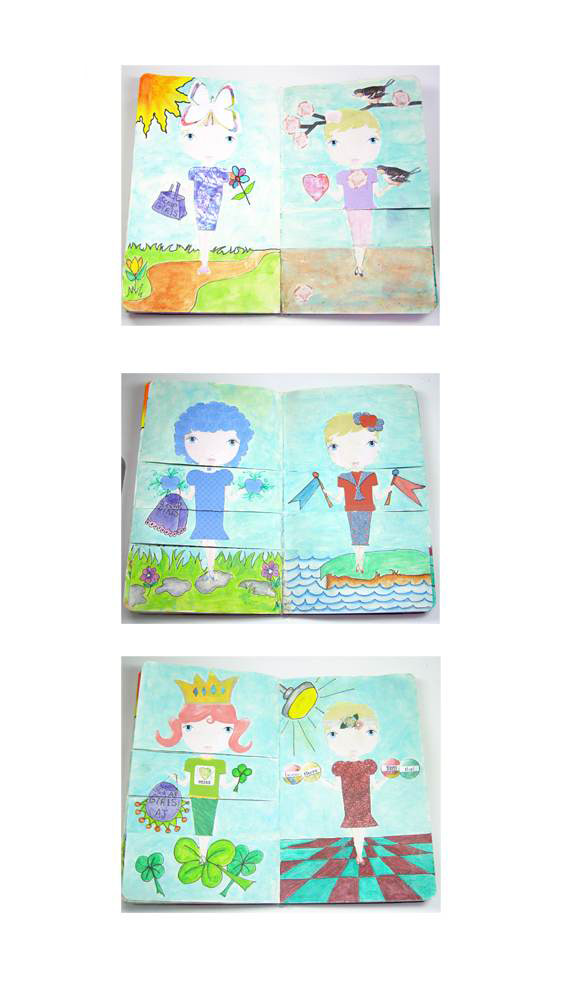
B, C and D. Here are the three finished spreads:
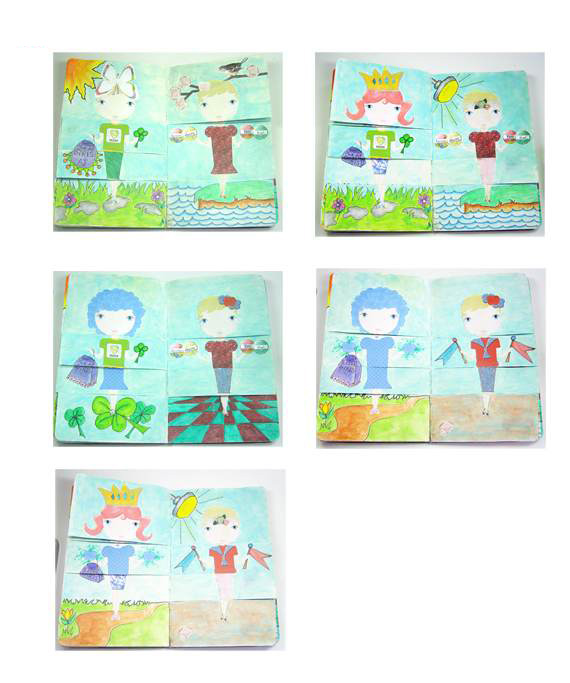
And here are only a small portion of the number of flips!
Homework for Art Journaling Scrap Girls Style Lesson 5
Welcome to Art Journal COLLAGE 101-Scrap Girls Style! If possible, have on hand gel medium (Golden or Liquitex brand), Gesso, acrylic paints (heavy body if possible) A bunch of Scrap Girls print outs!
Tutorial written by Jerrie Hall
The post Art Journaling Scrap Girls Style Lesson 4 – Paper Doll Flip Pages! appeared first on ScrapGirls.


