We will be covering a lot of things today! On one page, we will explore the ‘good, bad and ugly’, then what we can do about it. We will also be performing some experiments that will tell us if our printers ink is water proof or not. On the next page we will create a composition using the info we have learned!
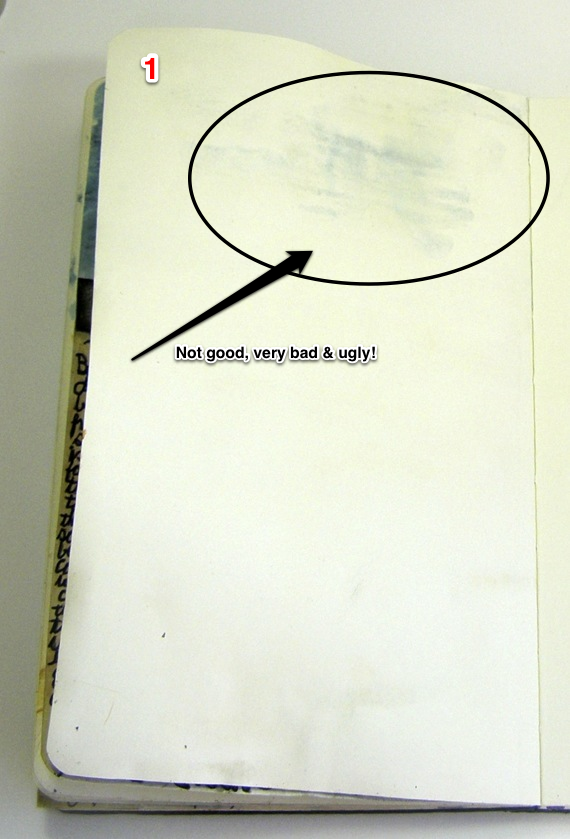
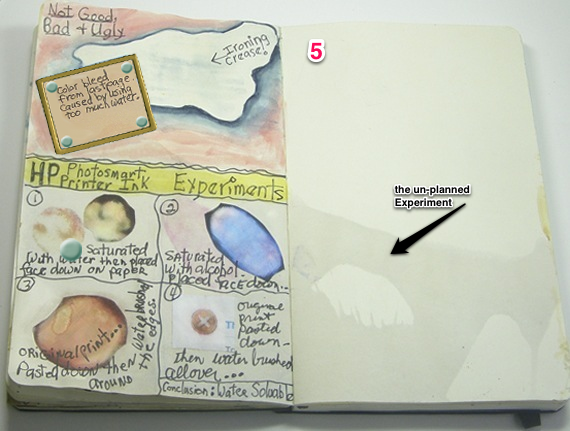
This is the next page in my art journal, YUCK! And it is not good, very bad and ugly!
That blue blotch in the upper right tells me that I definitely used too much water when I painted the other side of the page. There is no reason to skip this page, we’ll still be able to use it, Scrap Girls style! When this happens to you for the 1st time, (and believe me, it will!) I want you to journal it for future reference, like this:
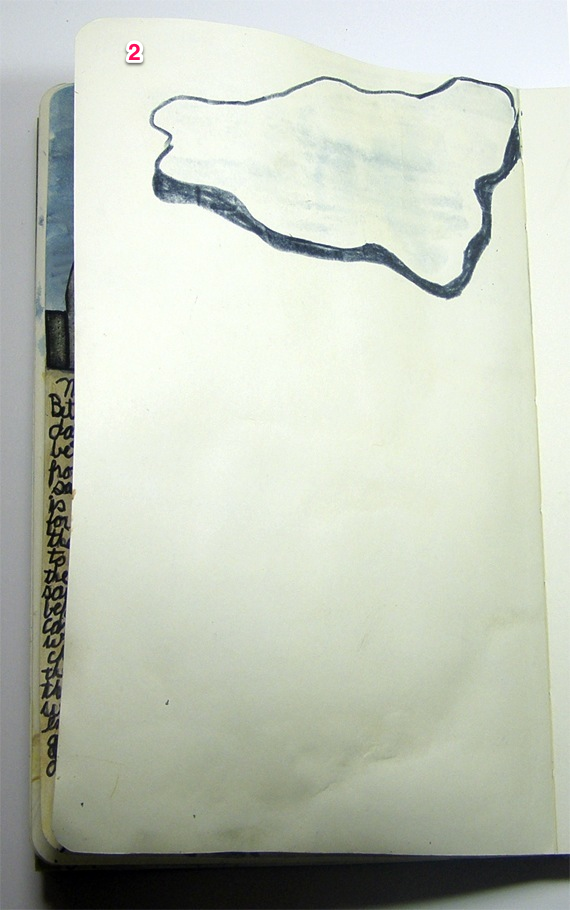
Accent your BooBoo by drawing around its area with a watercolor pencil, thicker on the bottom for effect.
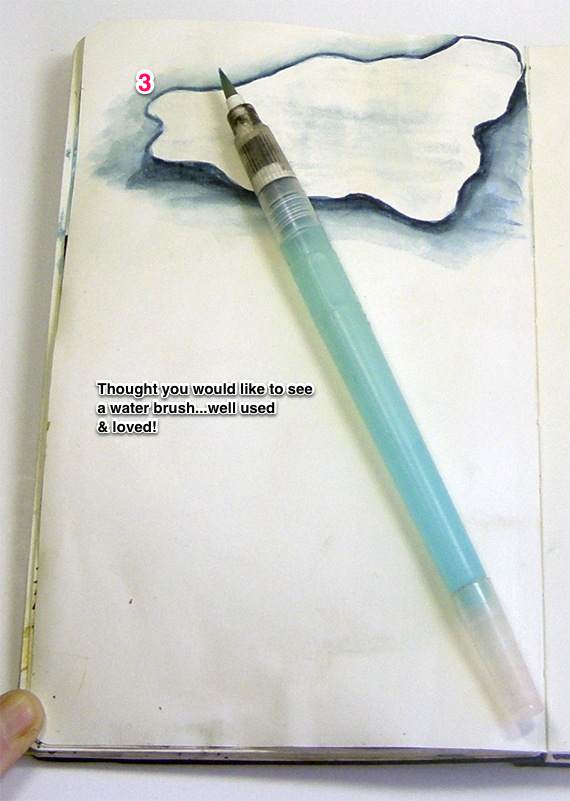
Gently blend the watercolor lines outward with your water brush, that gives it a little dimension.
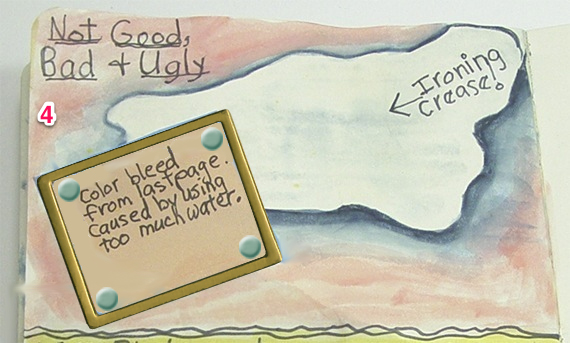
Now I want you to journal the results, Scrap Girls Style!
Find a tag/label that you like in your Scrap Girls stash; or search the Scrap Girls Boutique, size to fit and print, cut out, and glue stick it on. Then journal what happened!
Now for the 4 printer ink experiments, And 1 unplanned SURPRISE experiment.
Because of the ‘unplanned’ experiment, the visual results of the 4 experiments in the photo are slightly different. By looking at the right hand page, you will probably guess correctly what happened!…more about that later.
I wanted to find out if my HP Photosmart printers ink is water proof or not.
I printed and cut out some beads ( you can choose anything in your Scrap Girls digital stash that you want!).
Experiment #1: Take one cut out print and saturate it with water; then place it face down on your journal page until the excess water is absorbed. Peel up print and see if any ink was left on the page. Let everything dry, then paste the print next to what was left by the water transfer.
Experiment #2: Spray some Isopropyl alcohol 70% onto another cut out print and follow the same procedure as in Experiment #1.
Experiment #3: Glue another cut out print on to the page; then take your water brush and lightly scrub around its edges. See how much the color bleeds.
Experiment #4: Glue yet another cut out print down on the page; lightly water brush all over to see if ink blurs.
The CONCLUSION for my printers ink is that it is not totally waterproof. The colors do bleed and blur; but it does stand up enough that you can use water media next to and on top of it if you don’t mind the slight blur.
My ‘unplanned’ experiment: Good- Fermented liquid from the chardonnay grape with an alcohol content of 12.5 % did not obliterate the ink!
The Bad- Loss of a lovely beverage! The Ugly- slight warpage of the page, easily ironed. Water mark on Experiment #3.
WOW! On that one journal page, I managed to record a lot of useful information!
Time to PLAY!
I’ve always loved drawing the letters of words with the object that the word means; like BEADS which is my project for today! The Scrap Girls Boutique is a treasure chest of beads, gems and all kinds of bling! If beads don’t float your boat, how about bugs, roses, bubbles, hearts; I think you get my drift! I would LOVE to see what you come up with in the Scrap Girls Hybrid Gallery!
Setting up is exactly like what we did in my first Art Journaling tutorial here.
Open up a new file with the size of your journal page in landscape mode. Mine would be 8″ inches wide by 4″ inches long. Bring out a horizontal and vertical guide line from the rulers and center them. Then start to arrange your elements. When you are happy with it, save, then print 2 copies. One is to remember your placement,(and to have backup elements) and the other is to cut up.
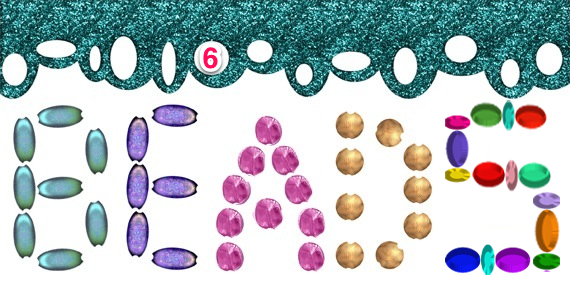
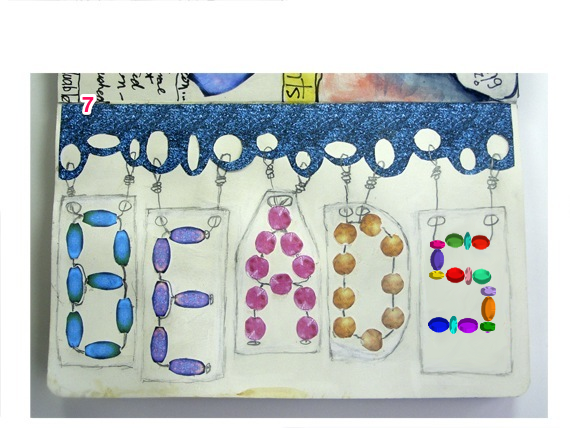
This is what I came up with. I then cut everything out and glued them on to my journal page. Normally I use a 2H pencil to sketch, but today I used a soft lead pencil for contrast. I connected the beads in the shape of their letter and connected them to hang on the top border. After thinking about how everything would look with a painted background, I decided to accent each letter more by drawing a simple tag beneath them, I like this much better!
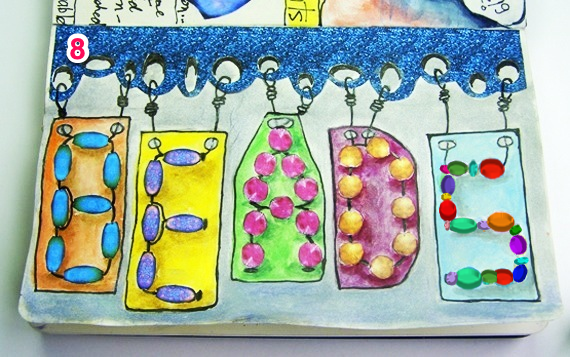
This is where I’m at now ready to start painting! I am going to use watercolor pencils again with a water brush, but this time I’ll be applying the color a little differently. I’m taking the color directly off my WC pencil with my water brush, then applying and blending it on to the page. After everything is dry, the last thing I have to do is go over my sketch lines with my Pitt Pen; and the second Art Journaling Scrap Girls Style project is complete!
Homework:
Remember the floor plan of a house you used to live in and Love, or the floor plan of a special room.
Digital scrapbooking supplies used:
His and Hers Collection Biggie
ScrapSimple Tools – Styles: Basic Glitter 6401 Super Biggie
ScrapSimple Embellishment Templates: Beads 1
Tutorial written by Jerrie Hall
The post Art Journaling Scrap Girls Style – Lesson 2 appeared first on ScrapGirls.

